Offering Best Embroidery Digitizing Services tailored just for you!
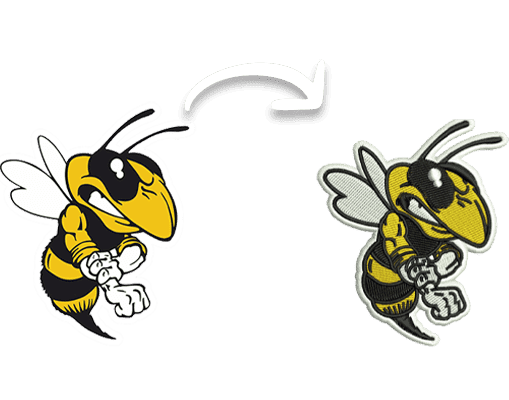
We are a USA-based company helping local and international clients with all their custom embroidery digitizing and vector tracing needs. Our dynamic team of professional digitizers convert logo to embroidery file flawlessly. Combining creativity, accuracy, and quality in one place, we deliver well-executed digitized embroidery designs in a record amount of time, ensuring they meet your goals.
Let’s work together on your custom projects and create a long lasting partnership.
We offer: