| Resizing embroidery designs works best with the right software and small size changes. Large changes often need redigitizing to protect stitch quality and design shape.
|
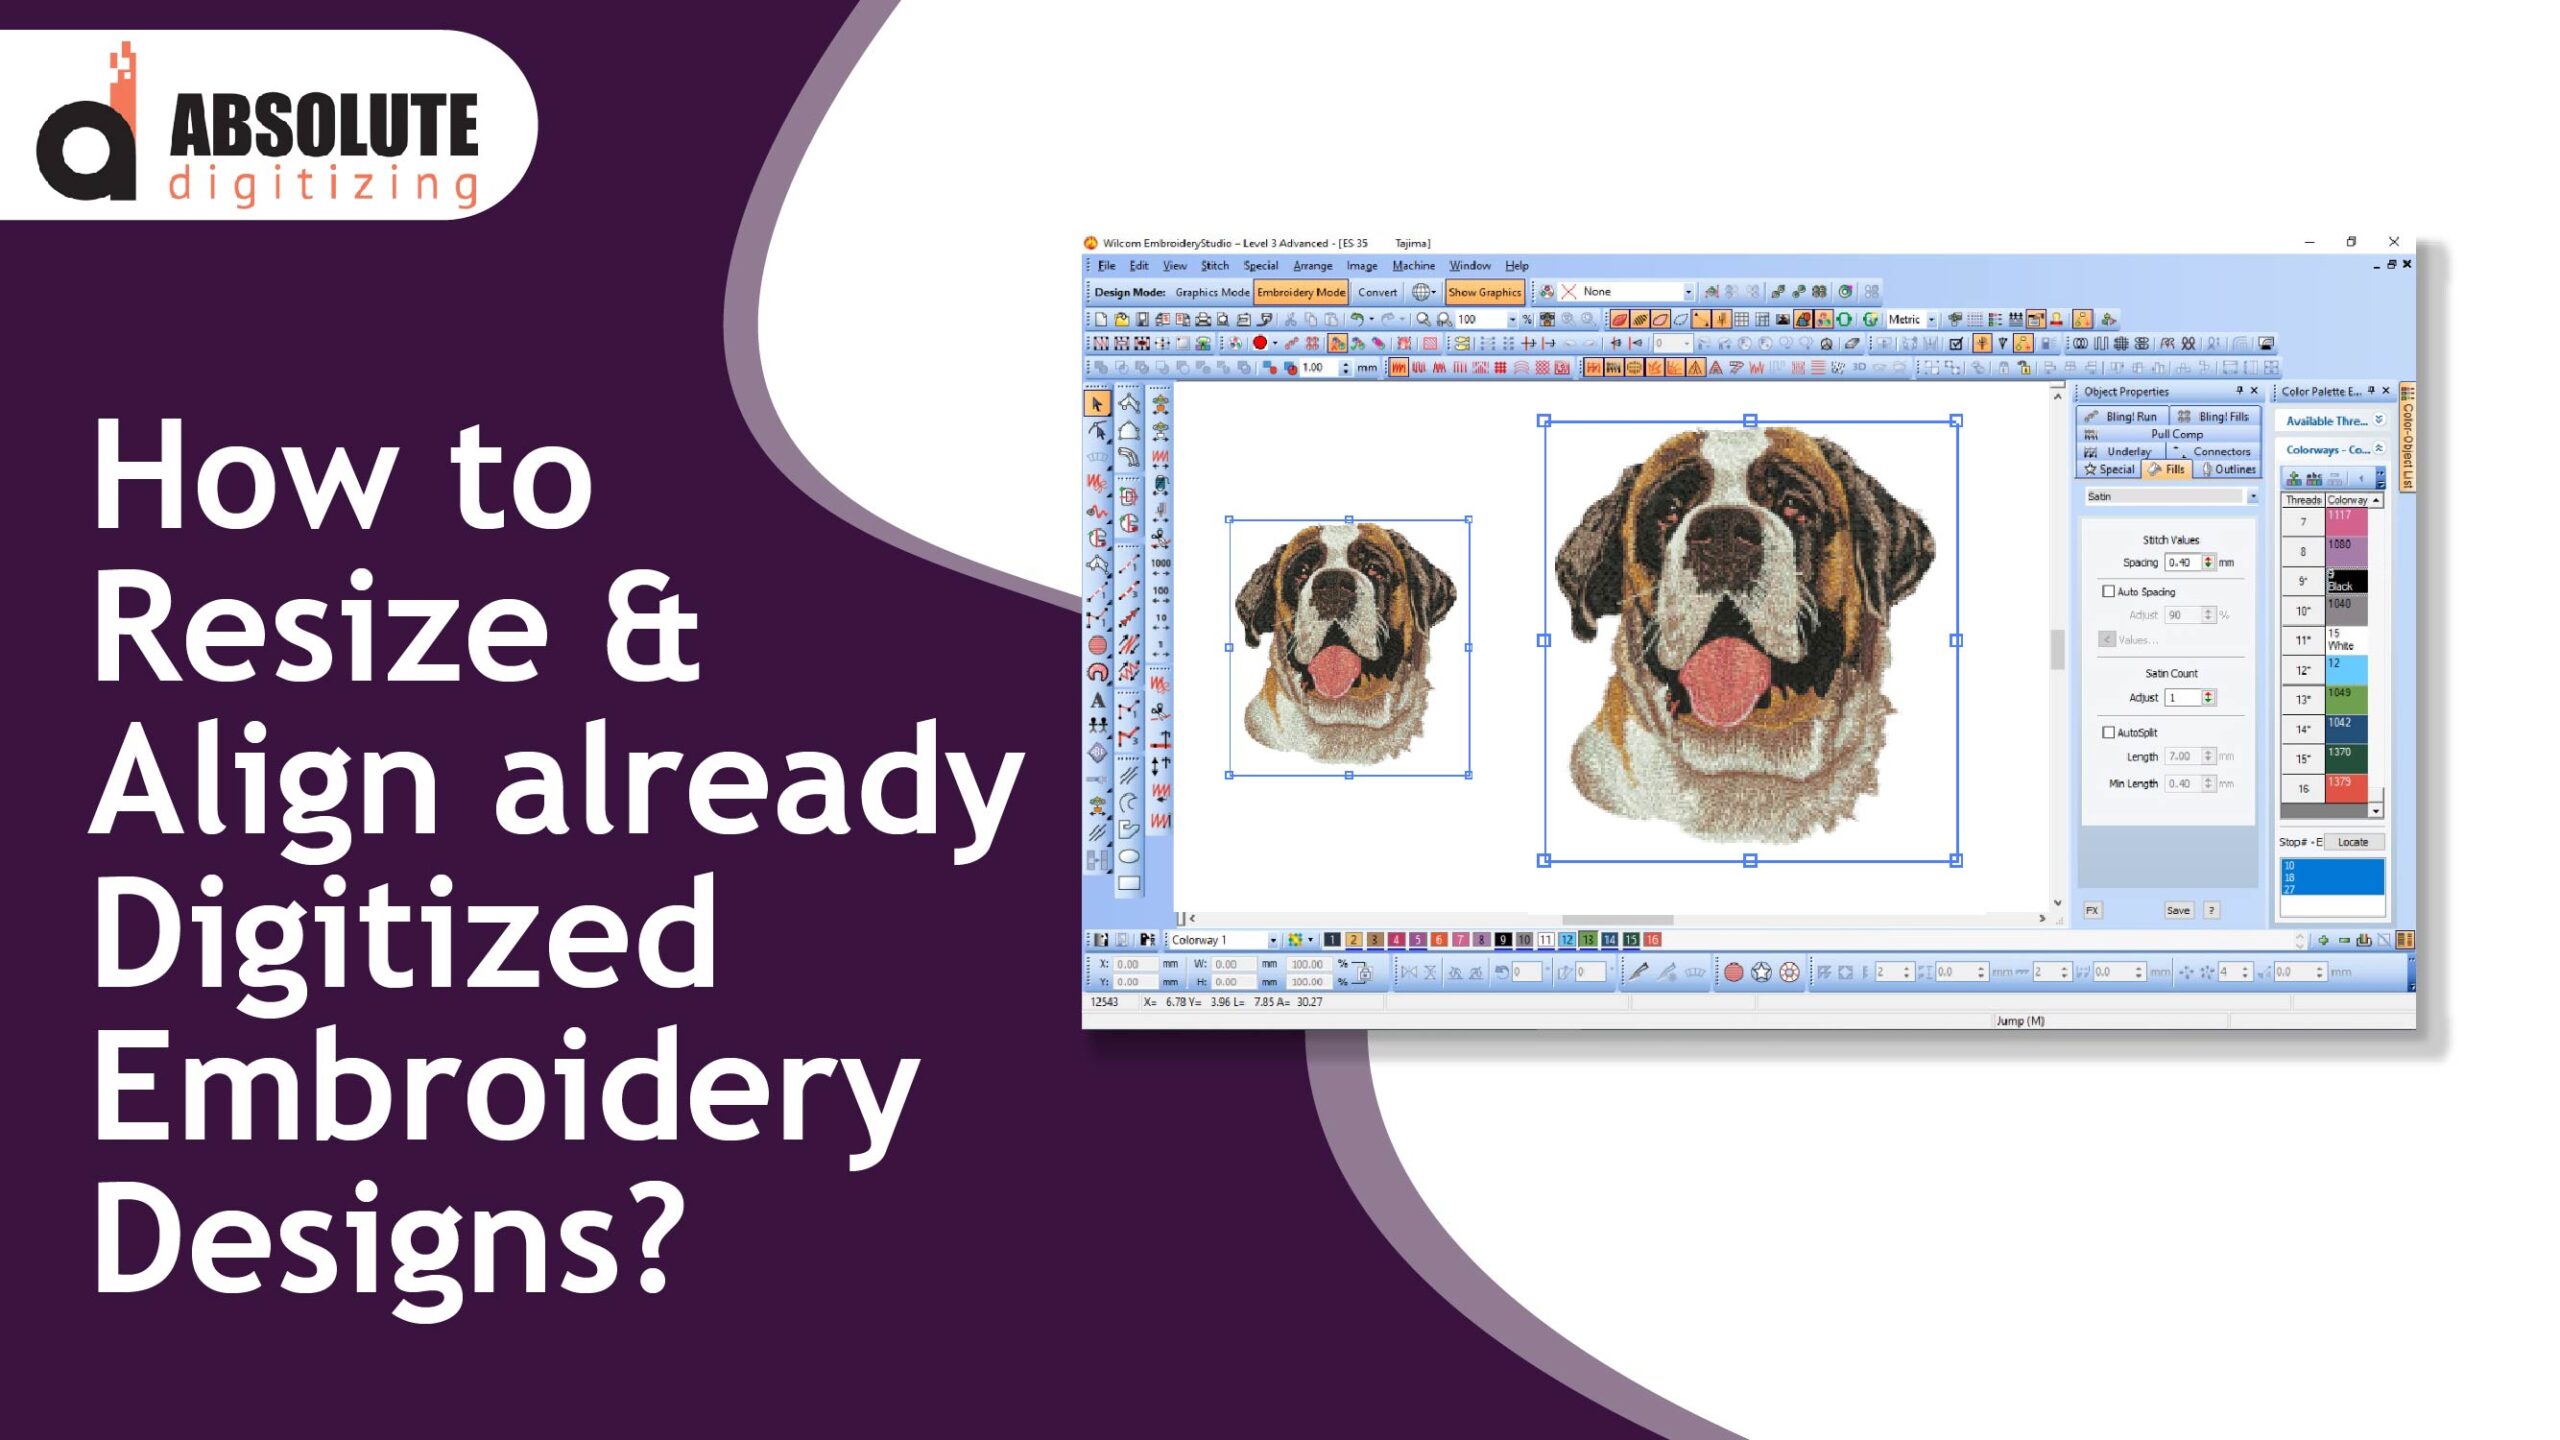
Resizing and aligning already digitized embroidery designs can be tricky. It’s not as simple as resizing a regular image. Since embroidery designs are made up of stitches, even small changes can affect their quality. If not done correctly, your design could lose detail or become unbalanced.
But don’t worry! With the right steps, you can resize your embroidery designs perfectly, making sure they stitch out just the way you want.
In this guide, we’ll show you how to resize embroidery designs safely, which software to use, and what to do if your design is too large for your hoop. Whether you’re a small business owner or a hobbyist, these tips will help you achieve professional-looking results.
If resizing and aligning your embroidery design feels overwhelming, Absolute Digitizing is here to help. We specialize in custom embroidery digitizing, ensuring your designs are resized and aligned to perfection every time. Let’s get started!

- How Can You Resize and Align Embroidery Designs? (Complete Guide)
- Quick Answer: Can You Resize Embroidery Files Without Ruining Them?
- Which 5 Software Programs Can You Use for Resizing or Redigitizing Embroidery Designs?
- When Should You Resize an Embroidery Design, and When Should You Redigitize It?
- What should you do if your embroidery design is larger than your hoop size?
- Final Thoughts
- FAQs
How Can You Resize and Align Embroidery Designs? (Complete Guide)

Resizing embroidery designs is a delicate process. The goal is to make your design bigger or smaller without losing quality. This process will walk you through the steps involved in resizing, from checking your design to saving the final file.
Step 1: Check the design before resizing
Before you start resizing, take a look at your design. Start by checking these important details:
- Current size: Know the width and height.
- Stitch count: Be aware of the number of stitches in the design.
- Design type: Is it a logo, text, or graphic with small details?
- Target fabric and hoop size: Make sure the design fits your fabric and hoop.
These steps will help you decide whether resizing is needed or whether the design should be redigitized instead.
Step 2: Open the file in embroidery software
You must use embroidery software to resize your design. Standard image software, like Photoshop, won’t work because it doesn’t adjust the stitch quality. Embroidery software is specifically designed to manage the way stitches behave when resized.
Step 3: Measure how much you want to resize
Decide on the new size for your design. Always measure how much you want to reduce or increase the width and height.
- Keep proportions locked: This ensures the design doesn’t stretch out of shape.
- Avoid distorting the design: For example, don’t turn a circle into an oval.
Measure both the width and height carefully to avoid uneven resizing.
Step 4: Resize in small amounts when possible
It’s always safer to resize in smaller amounts. Big changes can make your design lose its shape and compromise stitch quality. When increasing or decreasing the size, try to keep the changes within 10 to 15% of the original size.
Making smaller adjustments ensures you maintain the design’s integrity.
Step 5: Check stitch density after resizing
Stitch density refers to how close or far apart the stitches are in your design. After resizing, check the density to avoid issues.
- Too dense: The stitches will be too close together, causing puckering on the fabric.
- Too loose: The stitches will be too far apart, and the fabric may show through.
Make sure the density is balanced for the new size.
Step 6: Review underlay, satin columns, and small details
Some parts of your design might need adjustment after resizing. Pay attention to these elements:
- Underlay: The underlay stitch should support the top stitches properly.
- Satin stitches: These may become too wide or too narrow.
- Small details: Tiny text or parts may need manual cleanup.
If any of these elements look off, adjust them before proceeding.
Step 7: Run a preview and test sew the design
Always run a preview to check how the resized design looks on screen. Then, do a test sew on fabric that’s similar to what you plan to use.
Look for:
- Shape and coverage: Ensure the design looks as expected.
- Thread breaks: Check for issues that could cause thread breaks.
- Registration: Make sure all parts of the design line up correctly.
Testing is crucial before you move on to the final production.
Step 8: Save the edited file in the right format
Once you’re happy with the resized design, save it in the correct file format for your embroidery machine. If the software allows, save a working file for future edits.
- Export the final design in a machine-readable format like PES, DST, or JEF.
By following these steps, you can resize your embroidery designs while maintaining their quality. Always remember to test and make adjustments as needed to ensure the best results.
Quick Overview
| Step | What to Do | Quick Tip |
|---|---|---|
| Check the design | Review size, stitch count, and design type | Watch for small text and fine details |
| Open in software | Use embroidery software only | Do not use regular image editing tools |
| Measure the new size | Set the new width and height | Keep proportions locked |
| Resize carefully | Make small size changes | Avoid large jumps in size |
| Check stitch density | Review how close the stitches are | Too dense can cause puckering |
| Review details | Check underlay, satin stitches, and tiny parts | Clean up small areas by hand if needed |
| Test the design | Run a preview and do a test stitch | Use the same fabric type if possible |
| Save the file | Save the editable file and the machine file | Export the right format for your machine |
Follow these simple tips for resizing embroidery designs to ensure the best quality and results.
You can also watch this quick video to see how embroidery design resizing works in software and how to keep stitch quality clean.
Quick Answer: Can You Resize Embroidery Files Without Ruining Them?
Yes, you can resize embroidery designs without ruining them, but it depends on how much you resize them. It’s safest to use proper embroidery software designed for resizing. Small size changes are much safer than large ones. If you try to make a drastic change, the design might lose its shape or quality.
A good rule to follow
- Minor resize: Generally, it’s okay to make small adjustments of 10 to 15%.
- Major resize: Large changes usually require redigitizing to ensure quality.
- Best practice: Always test stitch after resizing to make sure everything looks good.
By following these guidelines, you can avoid common issues such as distortion, stitching errors, and poor design quality.
Which 5 Software Programs Can You Use for Resizing or Redigitizing Embroidery Designs?

There are several embroidery software programs that make it easy to resize designs while preserving stitch quality. Here’s a comparison of some popular options, including both free and paid software.
1. Wilcom Embroidery Studio (Paid)
Wilcom is one of the most well-known software programs for professional embroidery digitizing. It’s feature-rich and offers powerful resizing tools. Wilcom Trusizer is a tool that allows you to resize embroidery designs without losing quality.
- Key Features: Resizes designs with stitch recalculation. Provides both automatic and manual resizing options.
- User-Friendliness: Easy to use for beginners and professionals.
- Compatibility: Supports multiple file formats (DST, PES, JEF, and more).
- Limitations: The free version has some restrictions. The full version is paid and more feature-rich.
2. Hatch (By Wilcom) Embroidery Software (Paid)
Hatch offers powerful resizing tools with full control over stitch density and design adjustments.
- Key Features: Resize designs without distorting stitches. Adjust stitch density, underlay, and trims.
- User-Friendliness: Beginner-friendly with helpful tutorials.
- Compatibility: Works with a wide variety of file formats (DST, PES, JEF).
- Limitations: Requires a paid subscription.
3. SewArt (Paid)
SewArt allows for the easy resizing of designs with a simple interface.
- Key Features: Resizes and converts vector files into embroidery formats.
- User-Friendliness: Very intuitive, even for new users.
- Compatibility: Works with most embroidery file formats.
- Limitations: Lacks advanced features for professional needs.
4. Embrilliance Essentials (Paid)
Embrilliance Essentials is an excellent option for both beginners and experienced embroiderers. It’s easy to use and provides various resizing tools.
- Key Features: Offers editing tools for resizing, aligning, and positioning designs.
- User-Friendliness: Very easy to use, even for beginners.
- Compatibility: Compatible with most file formats.
- Limitations: Lacks some advanced features for professional-level digitizing.
5. Ink/Stitch (Free)
Ink/Stitch is a free, open-source software that works well for basic resizing.
- Key Features: Resizes designs and converts vector art to embroidery.
- User-Friendliness: Requires some learning, but great for hobbyists.
- Compatibility: Works with SVG files and a few other formats.
- Limitations: Functionality is limited compared to paid software.
When Should You Resize an Embroidery Design, and When Should You Redigitize It?
Resizing and redigitizing are not the same thing.
Resizing means you change the size of an embroidery file you already have. “Redigitizing” means you rebuild the design for a new size, fabric, or use.
A small change in size often works well. However, a big size change can hurt the final stitch-out.
When to Resize
You can resize a design when the change is small. In most cases, a simple design handles this better than a detailed one.
This approach works best when the file has no tiny text, thin lines, or very small shapes. It also helps when the preview still looks clean and the test sew runs well.
Helpful signs that resizing may work:
- The size change is small
- The design is simple
- The text is easy to read
- The stitch-out still looks neat
When to Redigitize
Redigitizing is the better choice when the size change is large. It is also better for logos, detailed art, and sharp shapes that must stay exact.
A resized file may become too dense or too open. As a result, you may see puckering, gaps, broken threads, or lost detail.
Use redigitizing when:
- The design has fine detail
- The logo must look exact
- The fabric is very different
- The product type has changed

Why Redigitizing is Sometimes the Smarter Option
Redigitizing lets the digitizer adjust stitch type, direction, density, and underlay for the new size.
That means the new file is built to sew well, not just look smaller or larger on screen.
| Choice | Best for | Main risk or benefit |
|---|---|---|
| Resize | Small size changes | Quick, but detail may suffer |
| Redigitize | Large or complex changes | Better quality and cleaner results |
For example, a plain left chest logo may resize well by a small amount. On the other hand, a detailed cap logo with tiny letters usually needs redigitizing.
To put it simply, resize when the change is small. Redigitize when quality really matters. That choice saves time, thread, and fabric.
What should you do if your embroidery design is larger than your hoop size?

When your design is too big for your hoop, there are several solutions to ensure a smooth stitching process.
1. Split the Design into Sections
Embroidery software allows you to divide a large design into smaller sections. Each section is stitched separately, and you can rehoop as needed. Make sure to use registration marks for precise alignment.
2. Use a Larger Hoop
Consider using a larger hoop that accommodates your design. This helps eliminate the need for multiple hoopings, making the process faster and more efficient.
3. Test and Plan Layout
Before starting, plan your layout carefully. Test each section to ensure proper alignment and avoid stitching errors.
4. Redigitize the Design
If the size change is significant and resizing causes distortion, redigitizing may be necessary. Redigitizing adjusts stitch density, underlay, and other key elements to ensure the design maintains its quality at the new size.
By following these steps, you can manage larger designs and achieve professional results.
Final Thoughts
Resizing embroidery designs the right way can save time, fabric, and frustration. In this blog, we covered how to resize safely, choose the right software, protect stitch quality, and know when redigitizing is the better option. We also explained what to do when a design is larger than your hoop.
The key is simple. Resize smartly for clean, professional embroidery. Small changes usually work well, but large changes need extra care. Keep testing, keep learning, and do not be afraid to improve your process. For expert and reliable digitizing solutions, contact Absolute Digitizing today. We’re here to help make your designs perfect every time!
FAQs
Yes, you can resize a DST or PES file in embroidery software. However, the result depends on the software and how much you change the size. Small changes are usually safer than large ones.
Yes, resizing can affect stitch count. When you change the size, the software may add or reduce stitches to keep the design shape and coverage balanced.
Yes, but only to a certain point. Small reductions often work well. If you make the design too small, tiny details, thin lines, and small text may not stitch clearly.
Puckering usually happens when the stitches become too dense for the fabric. It can also happen if the stabilizer is not strong enough or the needle and thread settings are not right.
You can split the design into parts, rehoop the fabric carefully, or use a larger hoop if available. If the design is detailed, redigitizing is often the best way to keep the final result clean and accurate.